Easter glass blocks are a charming and versatile way to bring springtime cheer into your home. Since Easter lands right in the heart of the season, it’s the perfect opportunity to create themed designs—think bunnies, pastel eggs, and flowers! But don’t stop there: nearly every holiday or special occasion has a glass block project that fits. Whether you’re decorating your own space or crafting a thoughtful gift for someone special, these DIY glass block creations turn simple materials into unique, eye-catching pieces that everyone will love.
1. DIY Easter Bunny Glass Block
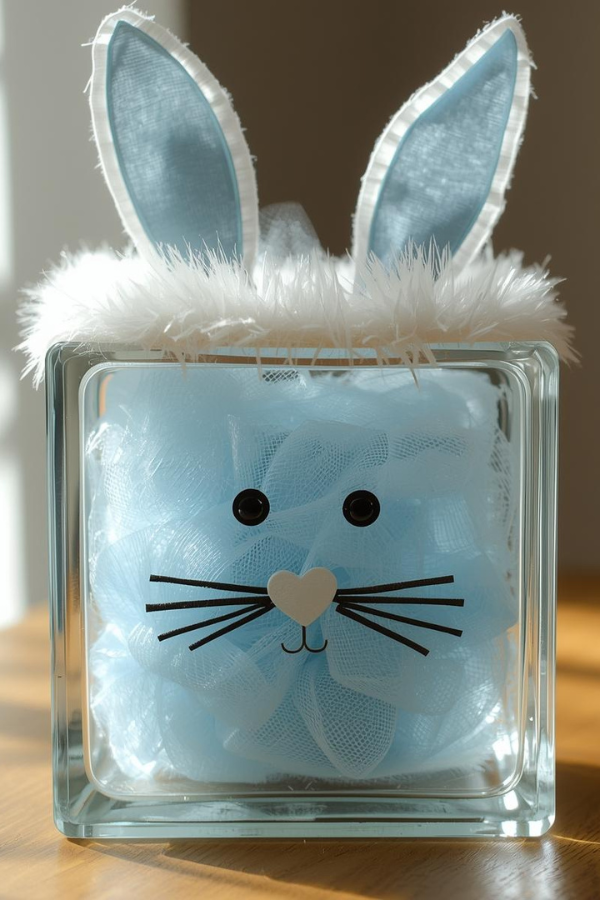
Creating this Easter bunny glass block is a fun and simple DIY project!
- Start by downloading an SVG file of a bunny face.
- Grab a 5×5 glass block and apply a vinyl decal of the bunny face to one side.
- Fill the inside of the glass block with soft blue fluff for a cozy, festive touch.
- Find a bunny headband with ears, carefully cut along the seams to remove the plastic band.
- Use hot glue to securely attach the bunny ears to the top of the glass block.
And just like that, your charming Easter bunny decoration is ready to display!
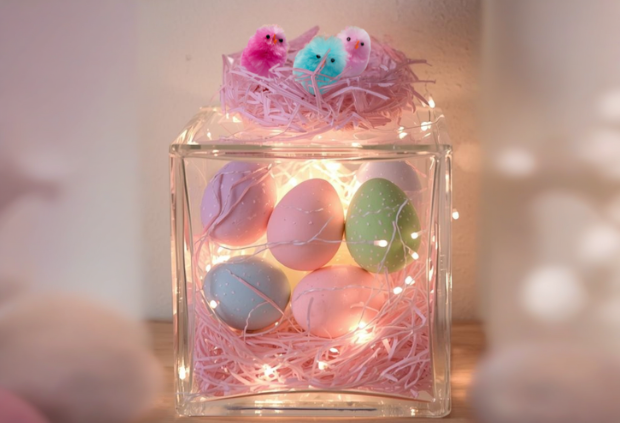
2. Happy Easter Glass Block Decoration
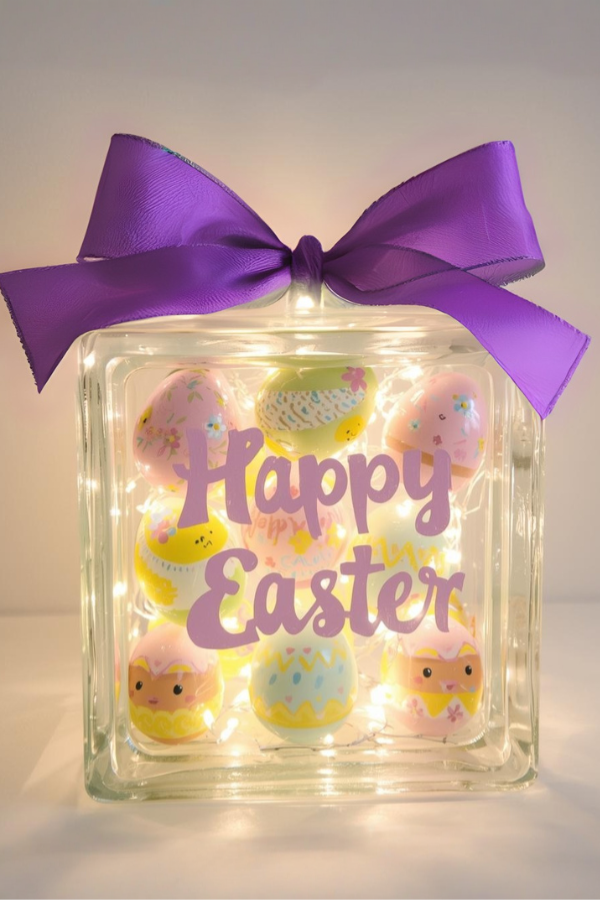
Recreate this cheerful Easter block in just a few easy steps.
- Start with a clear square glass block, approximately 5×5 inches.
- Fill the inside of the block with warm white fairy lights, arranging them evenly to create a soft, cozy glow.
- Add a mix of colorful pastel Easter eggs inside the block—painted in pink, yellow, green, blue, and orange—with small flower and chick designs for a cheerful spring vibe.
- Apply a vinyl decal or sticker on the front of the glass block that says “Happy Easter” in playful purple lettering
- .Finish by tying a large purple fabric bow neatly around the top of the glass block to add a charming handmade touch.
- Place your glowing Easter block on a white surface or mantel for a bright and festive decoration perfect for the season!
3. Easter Bunny Floral Centerpiece
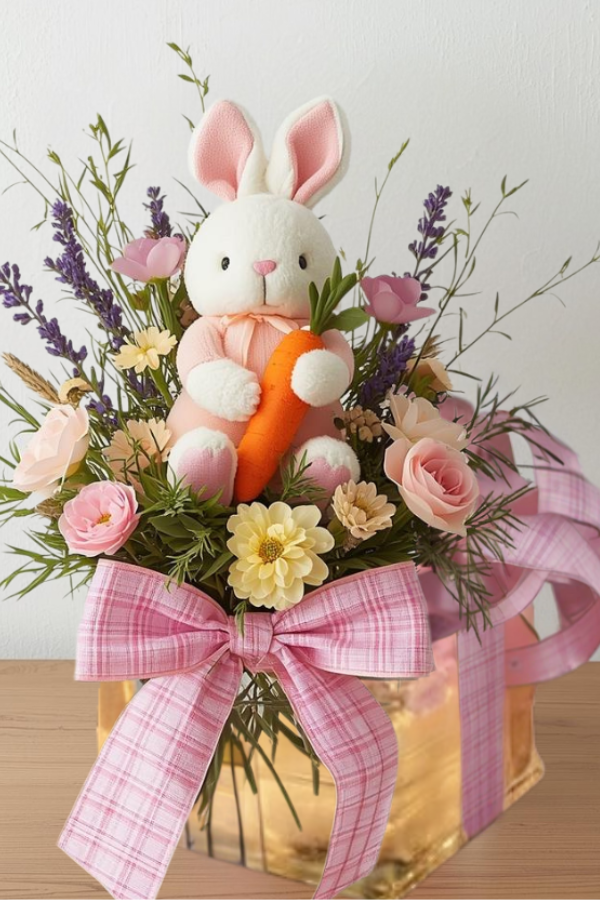
How to Make a Plush Bunny Easter Centerpiece on a Glass Block
- Begin with a clear square glass block as the base for your centerpiece.
- Create a small floral arrangement using pastel pink and yellow flowers, lavender sprigs, and soft greenery. Arrange the flowers so there’s a center space for your bunny.
- Place a small plush white bunny in the center of the floral arrangement. Choose a bunny with pink-lined ears, and dress it in a pastel-colored outfit. Add a small prop like a bright orange carrot for extra charm.
- Secure the floral arrangement and bunny on top of the glass block using hot glue or floral adhesive if needed.
- Tie a large pink plaid fabric bow around the base of the glass block for a finished, decorative touch.
4. Easter Chick & Pastel Egg Centerpiece
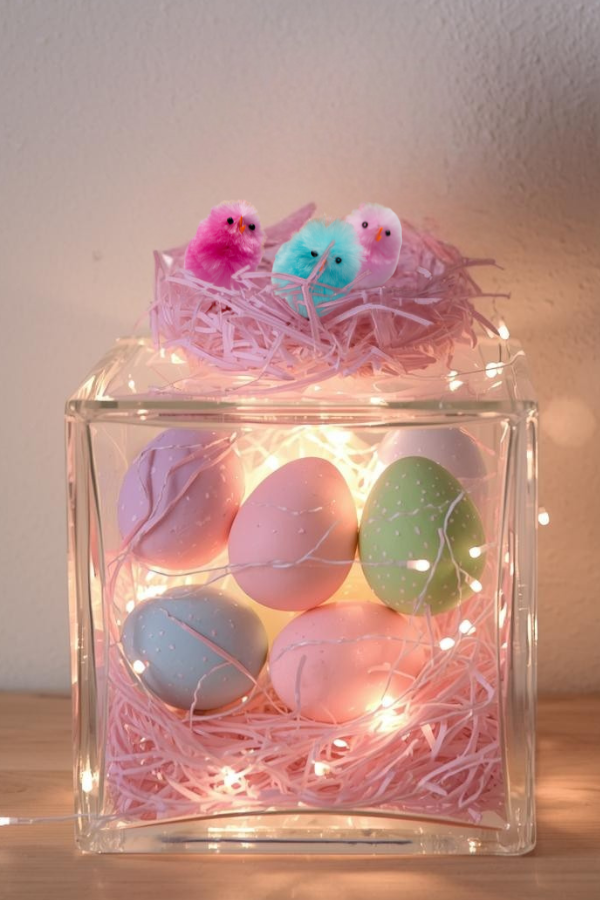
How to Make a Glass Block Easter Display with Fairy Lights and Chicks
- Start with a clear rectangular glass block as the base for your display.
- Fill the inside of the block with soft pink Easter grass.
- Add warm white fairy lights inside the block, arranging them evenly to create a soft, glowing effect.
- Place pastel-colored Easter eggs—pink, blue, green, and purple—in a neat row inside the block on top of the grass.
- On top of the block, position a bright pink fuzzy chick decoration with black eyes and an orange beak. Nestle it on a small layer of pink grass for a cozy look.
Your festive Easter display is now ready to add a soft, glowing, springtime touch to any table or shelf!
5. Easter LED Glass Block

To make this simple glass block light with a colorful LED glow – follow these steps.
- Start with a clear glass block as the base for your design.
- Insert colorful LED fairy lights inside the block, ideally in pastel rainbow tones, and arrange them evenly to create a vibrant, glowing effect.
- Prepare a black layered papercut featuring decorated Easter eggs, spring flowers, and leaves arranged in a wreath shape.
- Place the papercut design inside the block so it faces the front.
- Add a “Happy Easter” phrase in elegant cursive lettering at the top of the design, either as a separate cutout or integrated into the papercut.
- Turn on the lights to illuminate the papercut, creating a cozy, ambient glow with soft reflections on the glass edges.
6. Frosted Easter Glass Block Light
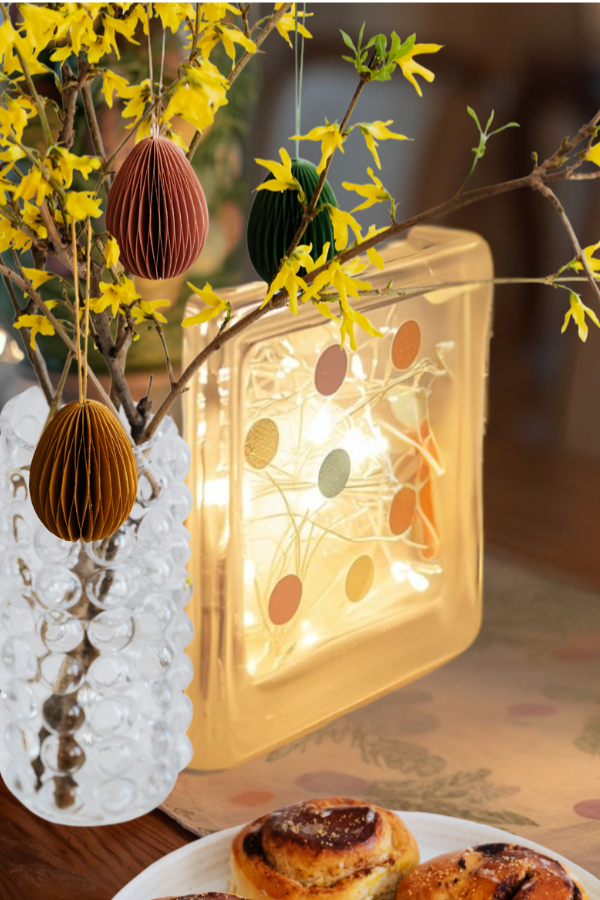
This DIY Easter glass block light gets its frosted look from a simple wrapped treat bag, softly diffusing the glow of fairy lights inside.
- Take a clear glass block and wrap it with a thin translucent plastic wrap, like a frosted treat bag. Cut off the bottom and make a slit on one side so it fits smoothly around the block. Secure the wrap with tape.
- Insert warm white fairy lights inside the glass block. The frosted wrap will diffuse the light for a soft, cozy glow.
- Decorate the outside of the block with colorful pastel polka dots for a playful spring look.
- Place the glass block on a spring-themed table runner and add small Easter accents, such as a white ceramic bunny figurine and a painted Easter egg nearby.
Optional: In the background, you can style a tall glass vase with green shredded paper grass and colorful plastic Easter eggs to complete your Easter vignette.
Your frosted Easter glass block is ready, creating a warm and festive centerpiece for your dessert table!