DIY Christmas Plates are a great activity for this time of year. It’s a great way to get little fingers involved in the festivities and it will help to keep them amused too. You can use Sharpies on a dollar store plate or paint and they would also make a great present for family and friends too. They are sure to be treasured for eternity and they will also be nice to look back on once kids are grown up.
1. Christmas Santa Plate
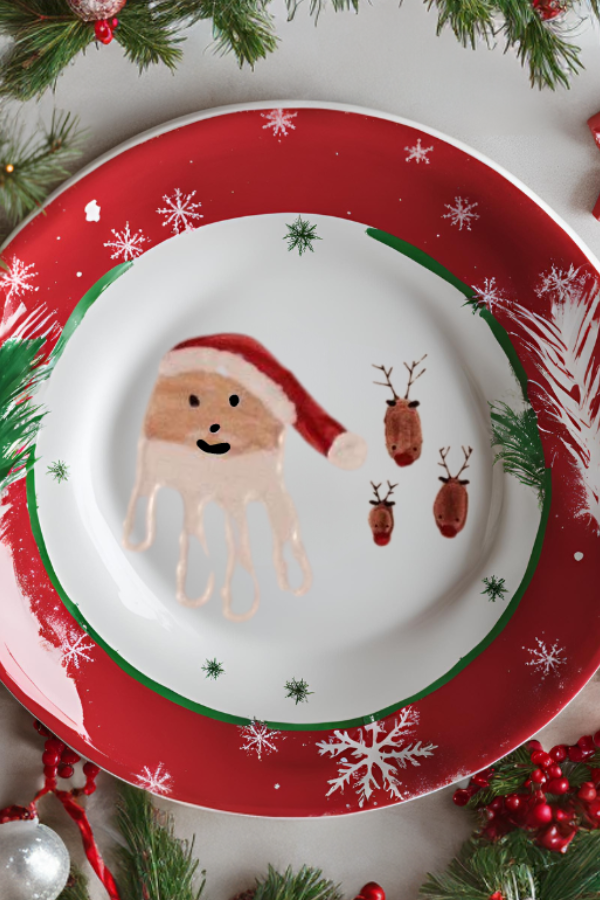
Each reindeer is a thumbprint from Dad Mom and baby. The Santa is your child’s hand print.
2. Footprint Car & Tree
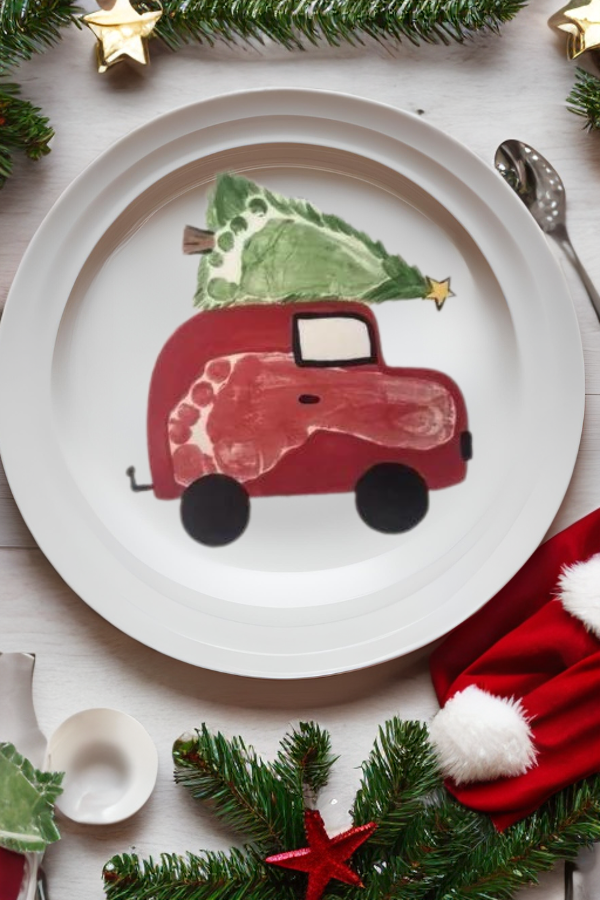
What a sweet Christmas scene crafted from your own child’s footprints. This would be a really cute one to hang up year after year on the walls.
3. Footprint Snowman
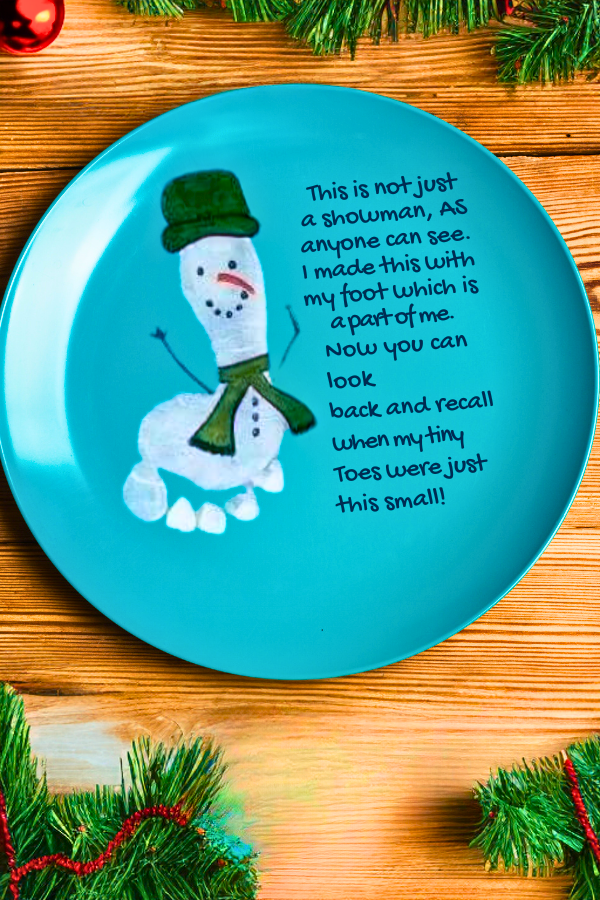
This cute Christmas plate comes complete with a handwritten poem to treasure forever! The poem reads,
This is not just a showman, as anyone can see. I made this with my foot which is a part of me. Now you can look back and recall when my tiny Toes were just this small!
4. Mistletoes
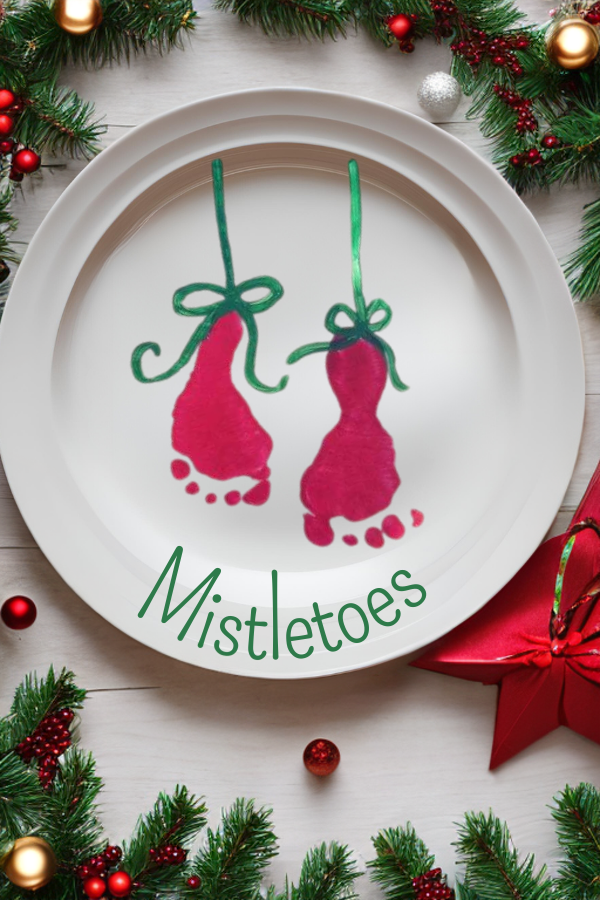
After wiping the plates with alcohol, you can start painting little one’s feet with green paint. If you find the plates slippery use a wet paper towel to wipe feet and try again before the paint dries. To make the paint dishwasher safe, you must cure it. The directions on the paint will tell you how. Put the dishes in a cold oven, then turn it on to the temperature the paint says. Leave them in for about 30 minutes, then turn off the oven, open the door, and let the dishes cool.
5. Hand Print Tree
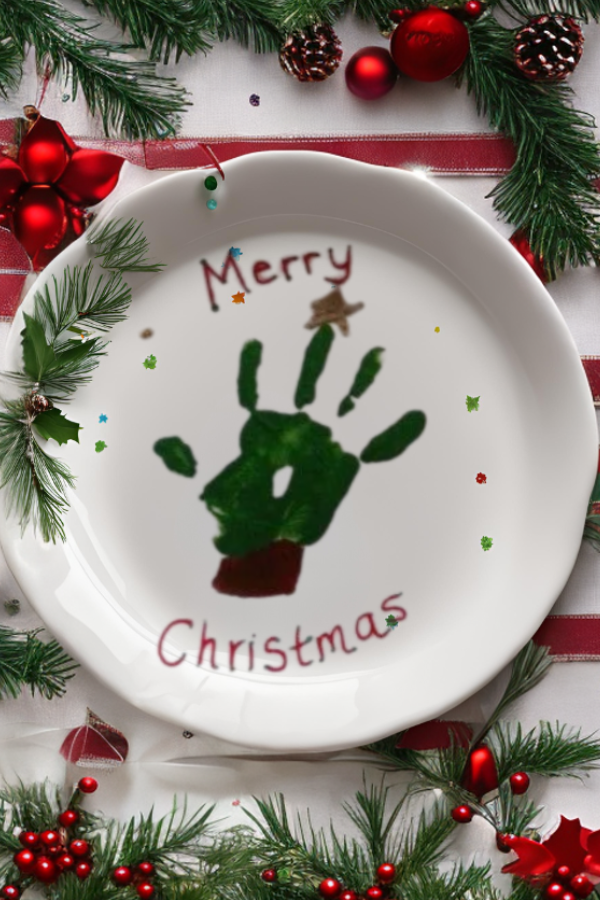
Turn a hand print into a tree by painting a brown stem and a yellow star on the top.
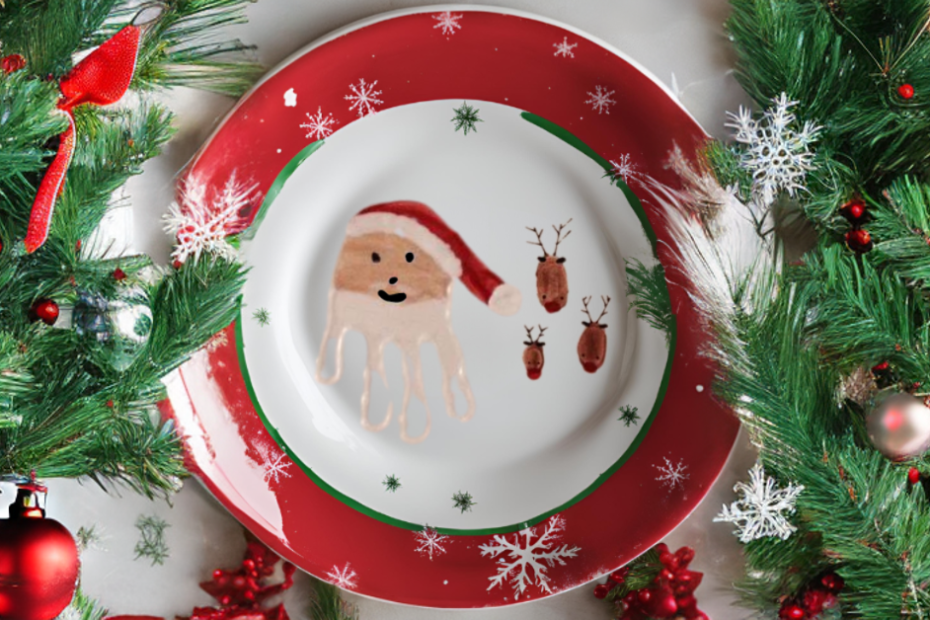
6. Santa & Rudolph
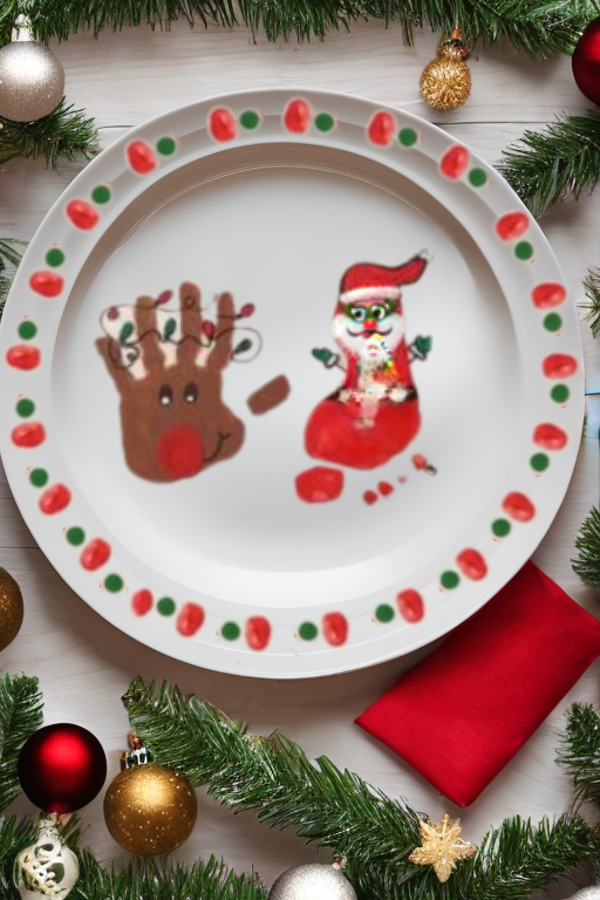
Make Santa & Rudolph using a hand print for the deer and a foot print for Santa. Decorate the outside of the plate with red and green dots to make it look even more festive.
7. Fingerprint Deer
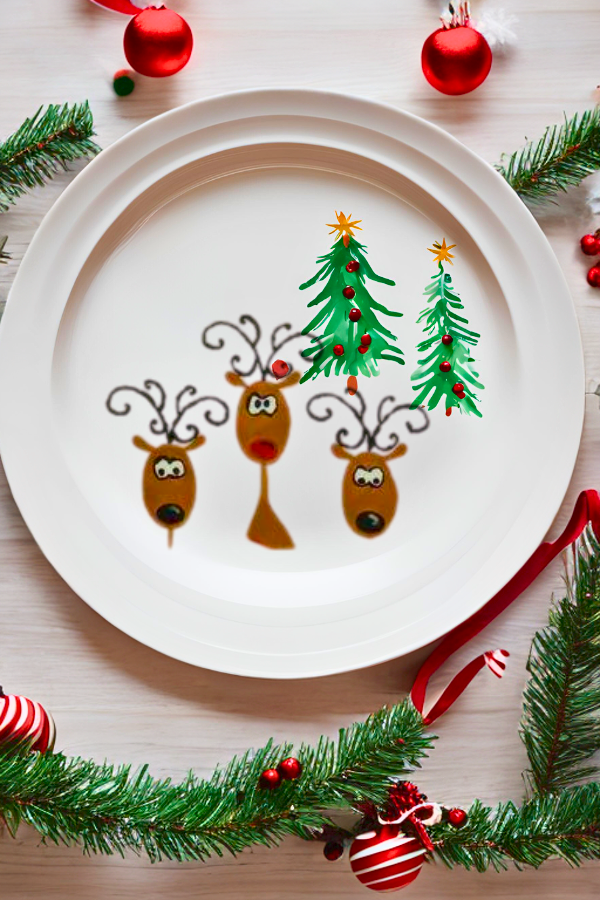
What a cute way to immortalize their fingerprints forever.
8. Christmas Shapes
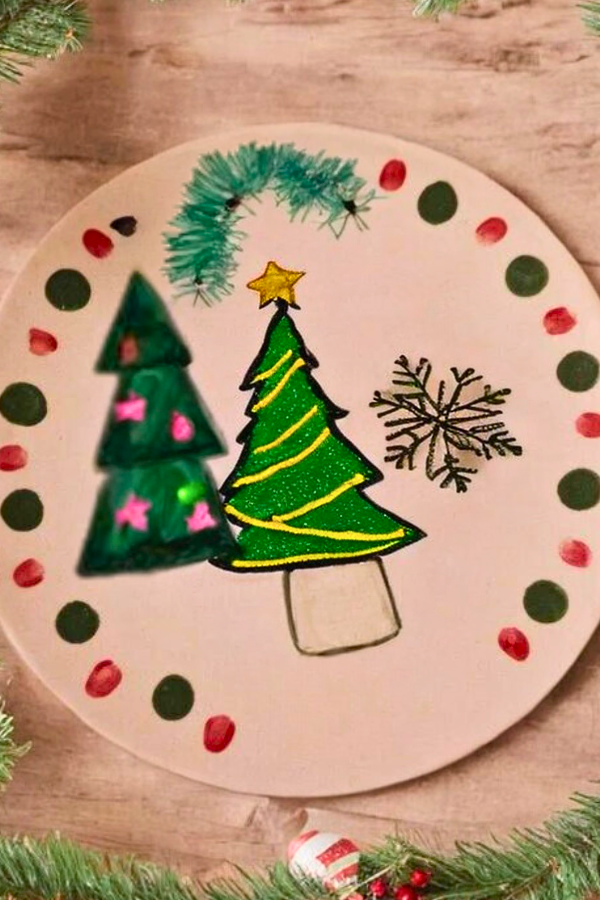
Draw on Dollar Store plates with Sharpies. Then, set your oven to 350 degrees and bake them for 30 minutes. This will make the designs permanent and safe to use. If you make a mistake with a Sharpie, just scribble over it with a dry erase marker and wipe it off with a paper towel.
9. Santa’s Cookies
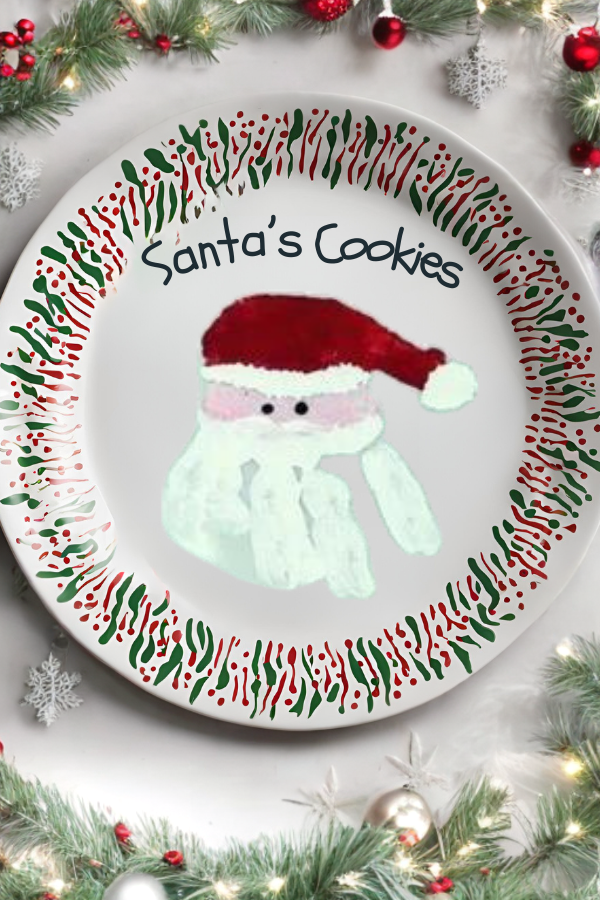
Make this Christmas art project by painting little one’s hands with acrylic paint and printing onto plates to make Santa Claus. Then bake it for 30 minutes. After it dries, spray it with acrylic spray. You can make any design on a plate. This is a simple and fun activity for preschoolers.
10. Family Christmas Plate
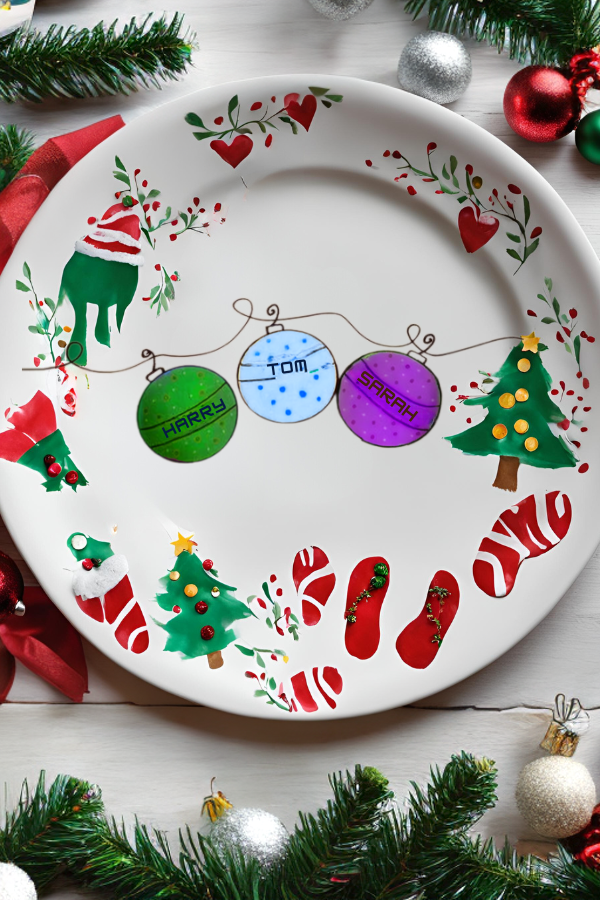
This plate was painted with oil based sharpie paint pens and baked at 350 for 30 minutes.
Where do you get the plates for these? I am hoping for a ceramic plate, but will do plastic if need be.
Thank you!
Hi Mel 🙂 you can purchase here
Dollar store!
Dollar tree is where I found mine
Did you use regular acrylic paint for the hand prints and foot prints? then bake at 350 for 30 min?
Hi Tania , you can an enamel acrylic paint which is made for use on both ceramics and glass. Once your hand prints are on the plate, set plate on baking pan. Place in oven and bake for 30 minutes on 300 degrees. Let the plate gradually warm with the oven to prevent cracking or shattering.
How did you gift wrap your plates/send them home as gifts? I used tissue paper this year and let’s just say it took a lot more tape and time than expected!
Hi Megan, I recommend bubble wrap , hope you have a blessed Christmas!
What if I sprayed the plates already and haven’t baked them. Can I bake them after?
Hi Taylor, what did you spray them with ? 🙂
I love this idea! Can’t wait to gift the grandparents with these adorable plates. Thanx for the inspo =)
what paint do you use that you can safely eat off of the plate after?
Hi Katie, Thanks for your question! Ensure you use the right paint so that it is safe to eat off of the plates. Use ceramic paint that says “non-toxic” on the label; these paints should be water-based. Painting the plates themselves is a simple process. Hope that helps, Emily 🙂