Valentine’s Day is the time to let your special someone know how much they mean to you. Up the romance by making sure you look your best. After you’ve nailed the outfit, hair, and makeup, complete your look with a gorgeous Valentine’s nail art design. From love letters to romantic ombre fades – make your partner swoon with one of these romantic manis!
1. Cute Love Letter Designs

Send a romantic message with these cute Love Letter Designs. Start with a soft pastel base color, such as blush pink to create a sweet backdrop. Then, using a fine nail art brush or a toothpick dipped in black or white nail polish, delicately draw tiny envelopes, postage stamps, or even handwritten love notes onto your nails. You can also add small hearts or cupid illustrations to enhance the romantic theme.
2. French Manicure Hearts

Want to add a touch of elegance to your Valentine’s Day manicure? Heart patterns are the perfect way to do it! For short nails, try a dainty heart outline on a base color like nude or light pink. Or go for a French manicure with a twist – paint your nails sheer or nude, then draw a small heart at the end of each nail instead of the usual white tip. If you’re feeling more adventurous, you can paint all your nails a neutral shade, then make a heart shape with deep red or bold metal on one of them. These elegant heart patterns will make your short nails look sophisticated and romantic – perfect for Valentine’s Day!
3. Romantic Ombre Fades

This nail design technique involves blending two or more colors together seamlessly, creating a soft and dreamy gradient effect on your nails. Begin by selecting two complementary colors that evoke a romantic vibe, such as shades of pink and purple or soft pastels. Using a a neutral base color, apply it to all of your nails. Then, take a makeup sponge or a small piece of sponge and gently dab the two chosen colors onto the sponge. Make sure to slightly overlap the colors and create a gradient effect. Next, press the sponge onto each nail, gently dabbing and blending the colors together. Repeat this step for each nail, ensuring a seamless transition from one shade to another.
4. Bold Red and Black Combo

If you are seeking a more vampy look, opt for a red and black combo! Start with a protective base coat. Then paint your nails red, using a darker shade at the base and lighter towards the tips. Add black accents using a brush, toothpick, stickers, or decals for a subtle touch.
5. Playful Polka Dots

Create a festive Valentine’s Day nail look with polka dots! Start by picking a base color to coordinate with your look, then create dots of various sizes and colors on your nails. Use either a dotting tool, toothpick or bobby pin to apply the colors. Have fun and experiment with different sizes and colors for a creative and unique design.
6. Elegant Heart Patterns

Make your crush’s heart skip a beat with this romantic heart pattern. For an easy look, paint your nails white and draw a heart in the center of each one with a contrasting color like red or burgundy. For a more unique French manicure, use a sheer shade as your base and paint tiny hearts at the tips of each nail. If you want a bolder look, paint all your nails a neutral color and draw a heart-shaped accent nail with bold metallic polish.
7. Pink and Glitter

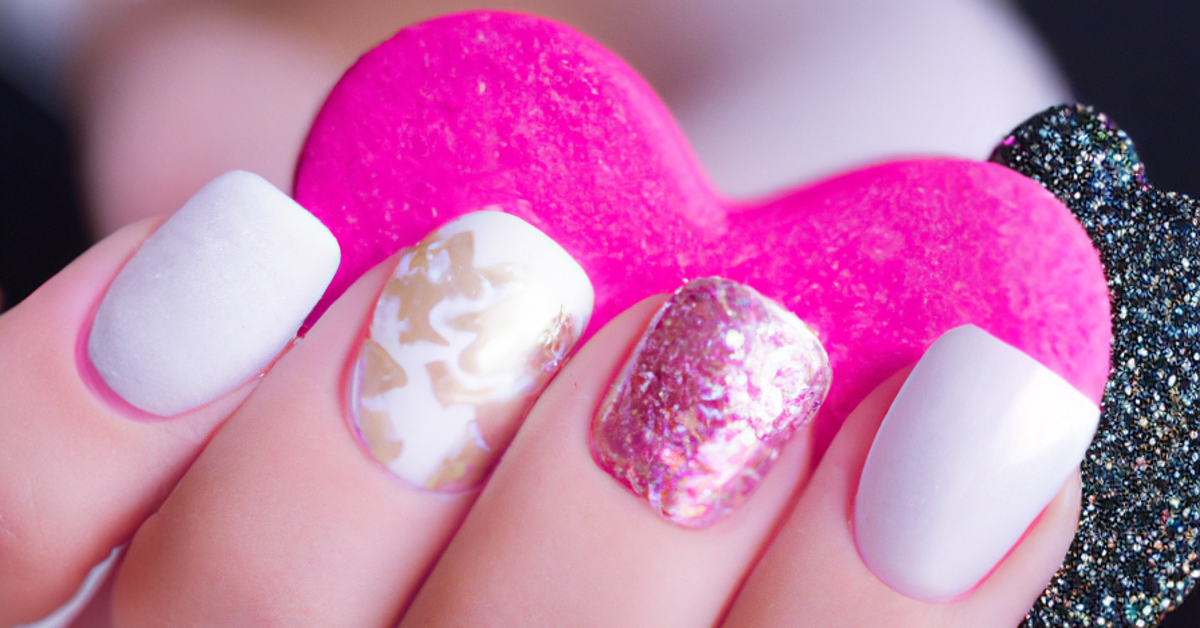
Introduce the romance to your tips with a pink mani and a plain white accent nail decorated with a heart. These cute but flirty nails will look adorable on your date night.
8. Delicate Floral Accents

Add some delicate floral accents to your nails for Valentine’s Day! Pick a base color that complements the flower you choose – soft pinks, blues and lavenders all look great. Next, use a thin brush or dotting tool to add the flowers. Make each nail different or use just one flower. Add some small details like leaves or stems too. Finally, seal it all with a glossy top coat and enjoy your special Valentine’s Day design!
9. Sparkling Glitter Tips

Create a sparkly glitter look on your nails with a few easy steps. Start with a clear base coat, then pick your favorite glittery color. Use the brush that comes with the polish or a thin brush to lightly apply the glitter to the tips of your nails. If you want a super neat and precise finish, use nail striping tape as a guide. Once your design is dry, add a top coat to protect it and make it shine.
10. Negative Space Heart Art

Negative space nail art is a creative way to style your nails. Begin by giving your nails two coats of polish in a color of your choosing and allow to dry. Next dip a brush in acetone and gently remove a heart shape in the center of each nail. Next, tak a different color polish to highlight the heart shape. Finish with a layer of top coat.


