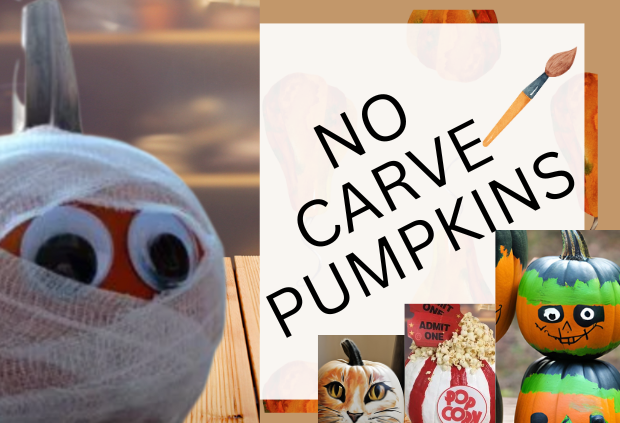
If the idea of scooping out pulp and getting a pattern onto a gourd with a craft knife fills you with dread – then why not try a no carve Halloween pumpkin instead. You can be as creative as you like and kids will love joining in on the fun. You can go for cute or scary – the choice is yours. You might also be taking part in a pumpkin contest for work so why not let these ideas inspire you!
1. Humpty Dumpty Pumpkin
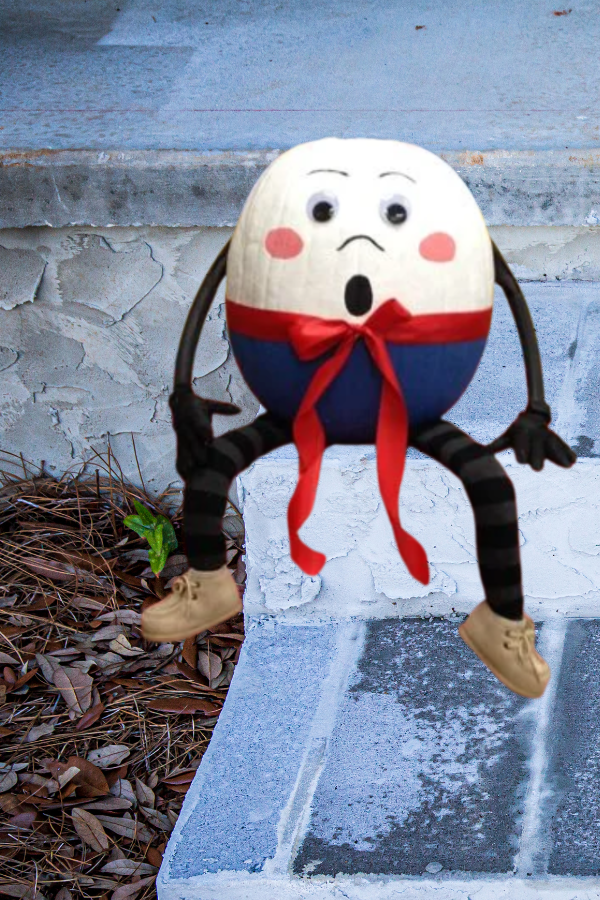
Luckily Humpty Dumpty Pumpkin hasn’t had a great fall before the chance to take this photo.
2. Lady with Curlers
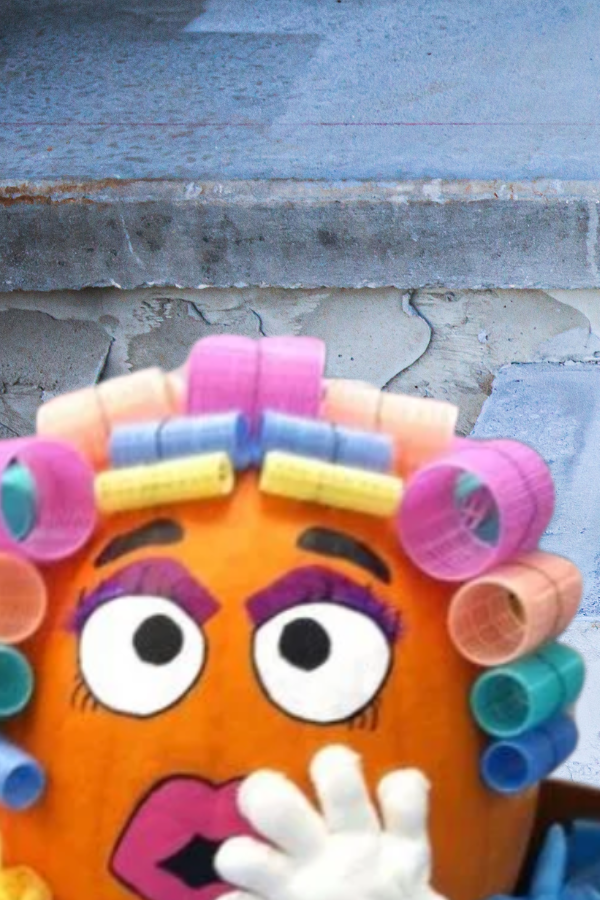
Paint on the eyes and lipstick and hot glue curlers to the top.
3. Popcorn Pumpkin
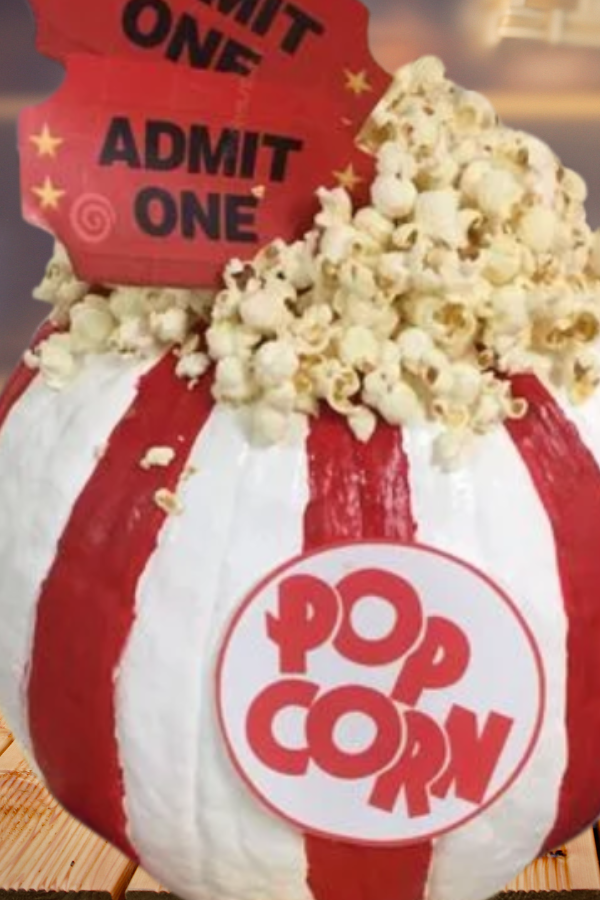
This is such a cute way to decorate your pumpkin for Halloween without carving. Paint your pumpkin red and white then add a printed popcorn sign. To finish, use a hot glue gun to attach about one bag of popcorn to the top.
4. Halloween Mummy Pumpkin
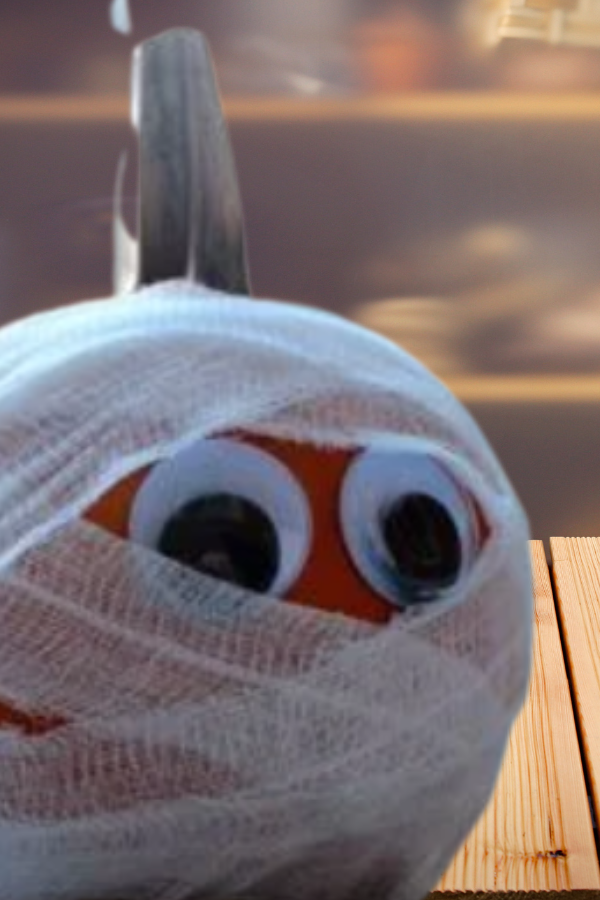
Simply glue goggly eyes to your pumpkin and cover him with medical gauze for a quick and effective decoration.
5. Pumpkin Latte
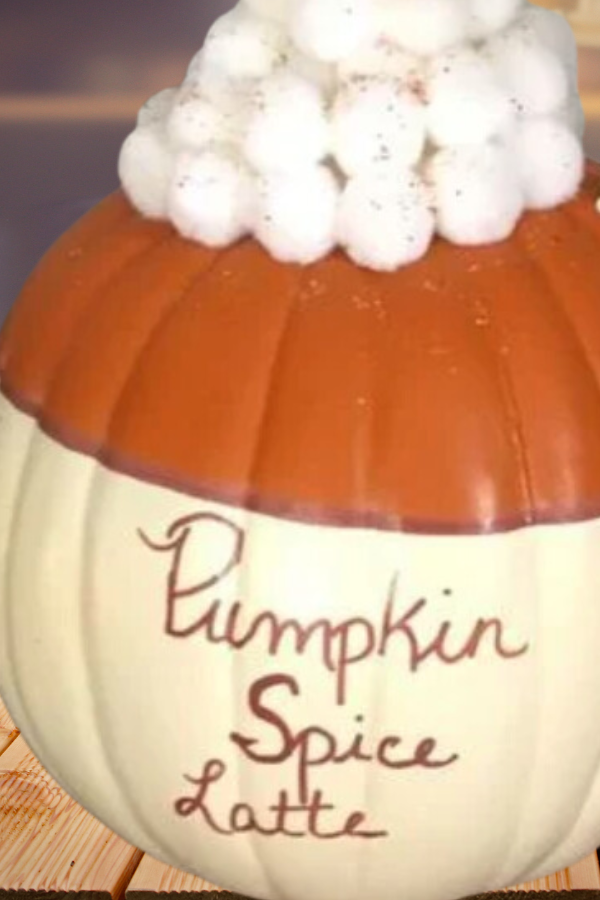
No carve pumpkin latte spice with cotton buds on the top to resemble cream on top – so cute.
6. Cat
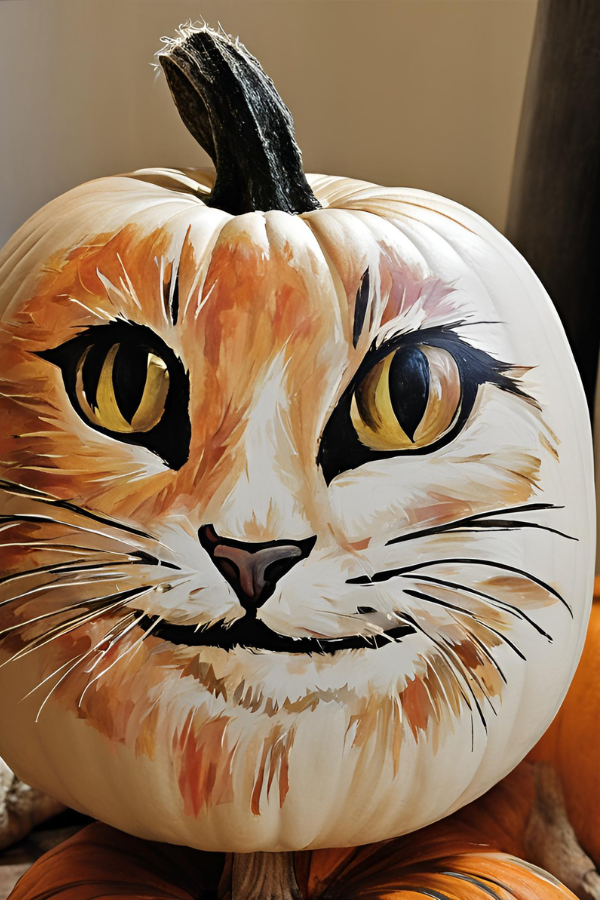
How to Make a No-Carve Cat Pumpkin
- Paint the pumpkin-Use a white or cream pumpkin, or paint an orange pumpkin white and let it dry completely.
- Sketch the face -Lightly pencil on the cat’s eyes, nose, mouth and muzzle.
- Paint the details-Paint the large golden eyes, black markings, nose and mouth. Use orange, tan and white paint to create the cat’s fur markings.
- Add the finishing touches-Use a fine brush or paint marker to add the whiskers and fine fur strokes. Paint the stem black for a dramatic finishing touch.
- Seal it-Once everything is completely dry, add a clear sealer if you want to display your pumpkin outdoors.
7. Frankenstein
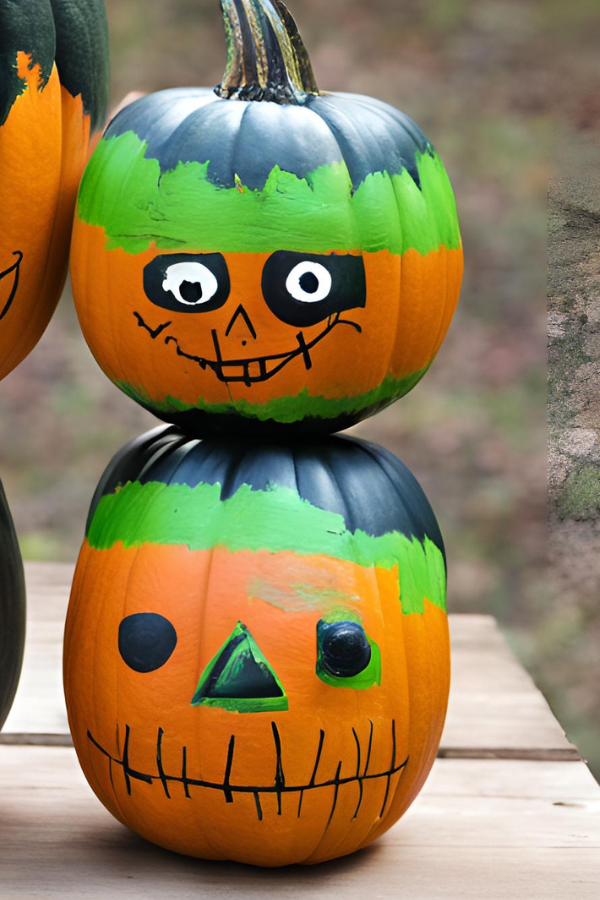
How to Make a No-Carve Frankenstein Pumpkin
- Paint the pumpkin -Paint the pumpkin orange if needed, then add a band of bright green paint around the top and a dark grey/black section over the stem area.
- Create Frankenstein’s face – Paint on two mismatched eyes, a triangular nose and a wide, stitched-looking mouth using black paint.
- Add the details – Use a fine brush or black paint marker to add the mouth stitches and other facial details. Add a few rough green brushstrokes around the pumpkin for a fun, homemade Frankenstein look.
- Stack your pumpkins – For a fun display, place a smaller Frankenstein pumpkin on top of a larger one to create a cute stacked pumpkin character.
8. Ghosts
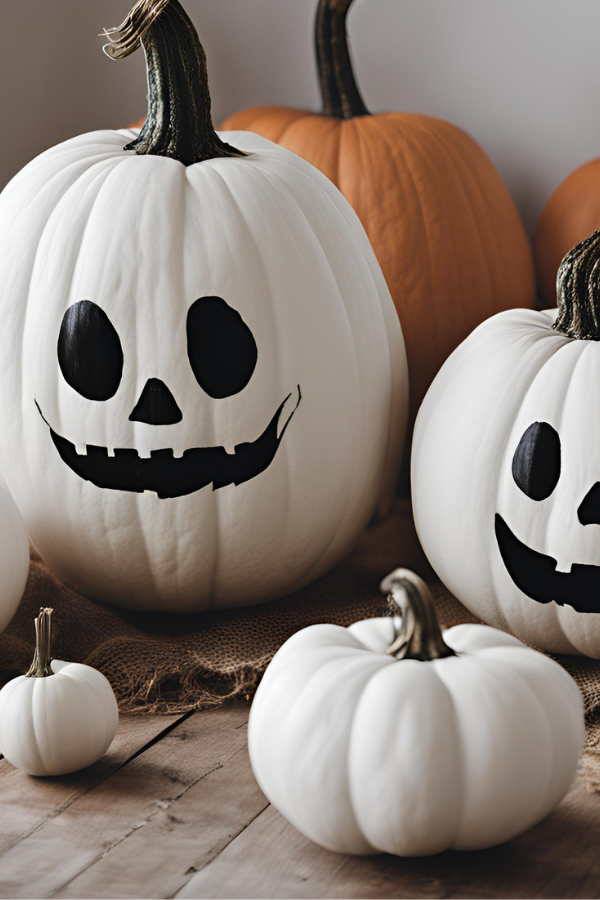
How to Make No-Carve Ghost Pumpkins
- Paint the pumpkins – Paint your pumpkins white and allow them to dry completely. You can use pumpkins in different sizes to create a cute ghost family.
- Paint the ghost faces – Use black acrylic paint to add two oval eyes, a small triangular nose and a wide, spooky smile.
- Add the finishing touches – Keep the faces simple for a clean ghostly look. Paint the stems black or leave them natural for contrast.
- Arrange your ghosts – Group pumpkins of different sizes together to create a fun Halloween display.
9. Witch
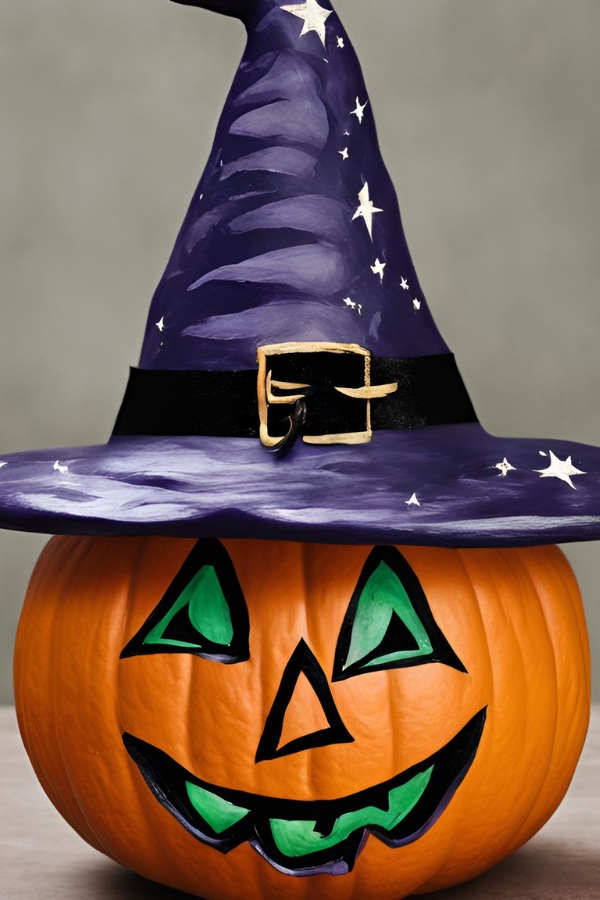
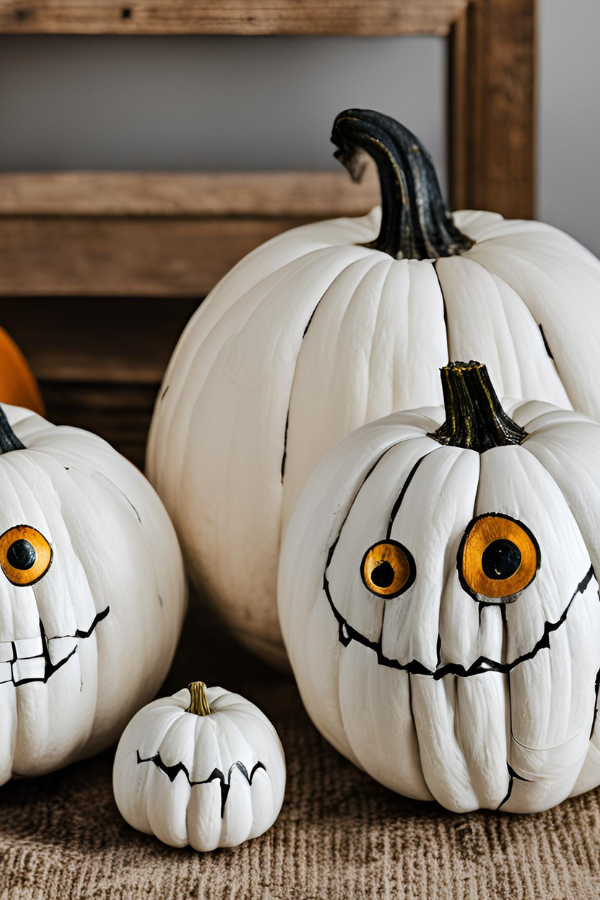
10. Ghouls
11. Ice Cream Cone Pumpkin
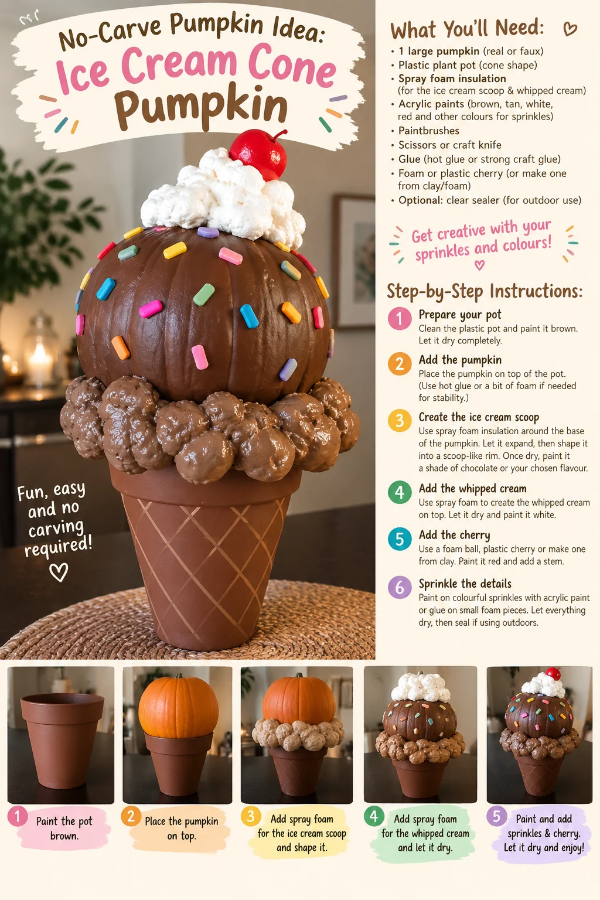
Turn a pumpkin into a fun ice cream cone for Halloween with this creative no-carve idea! A painted plastic pot creates the cone, while spray foam insulation forms the ice cream scoop and fluffy whipped cream topping. Add colorful sprinkles and a cherry for the finishing touches.